The art of natural skincare at home

Summary

    Get back to gentle skincare that respects your skin

    Treating your skin at home, just as you would at a beauty salon, helps to support skin renewal and remove impurities, dead skin cells and unclog pores. Thanks to plant-based oils, hydrosols and clays, this step-by-step routine guides you towards healthier, more radiant skin that is respected in its natural balance. A ritual to taking care of yourself.

    An article by Dipinto Rachel, skincare practitioner. 

    Step 1 • Make-up removal and cleansing: the basis of a homemade skincare routine

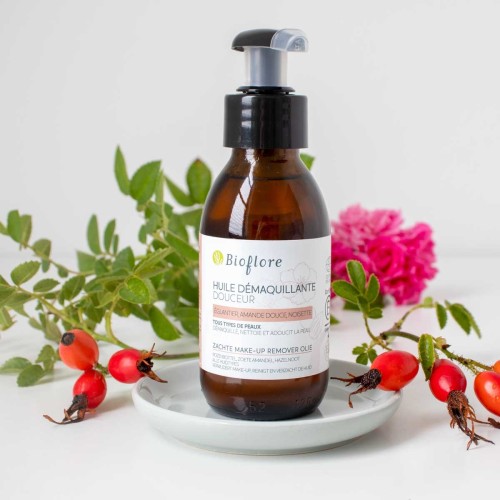
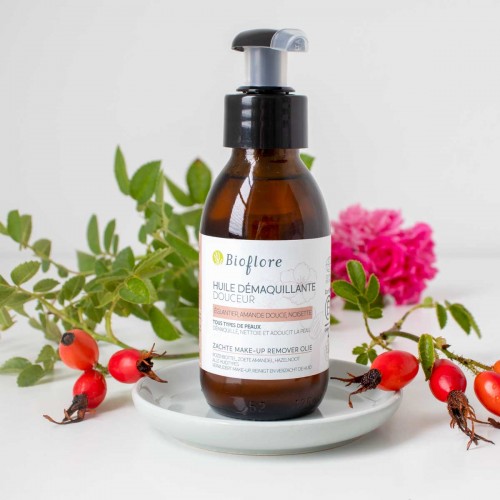
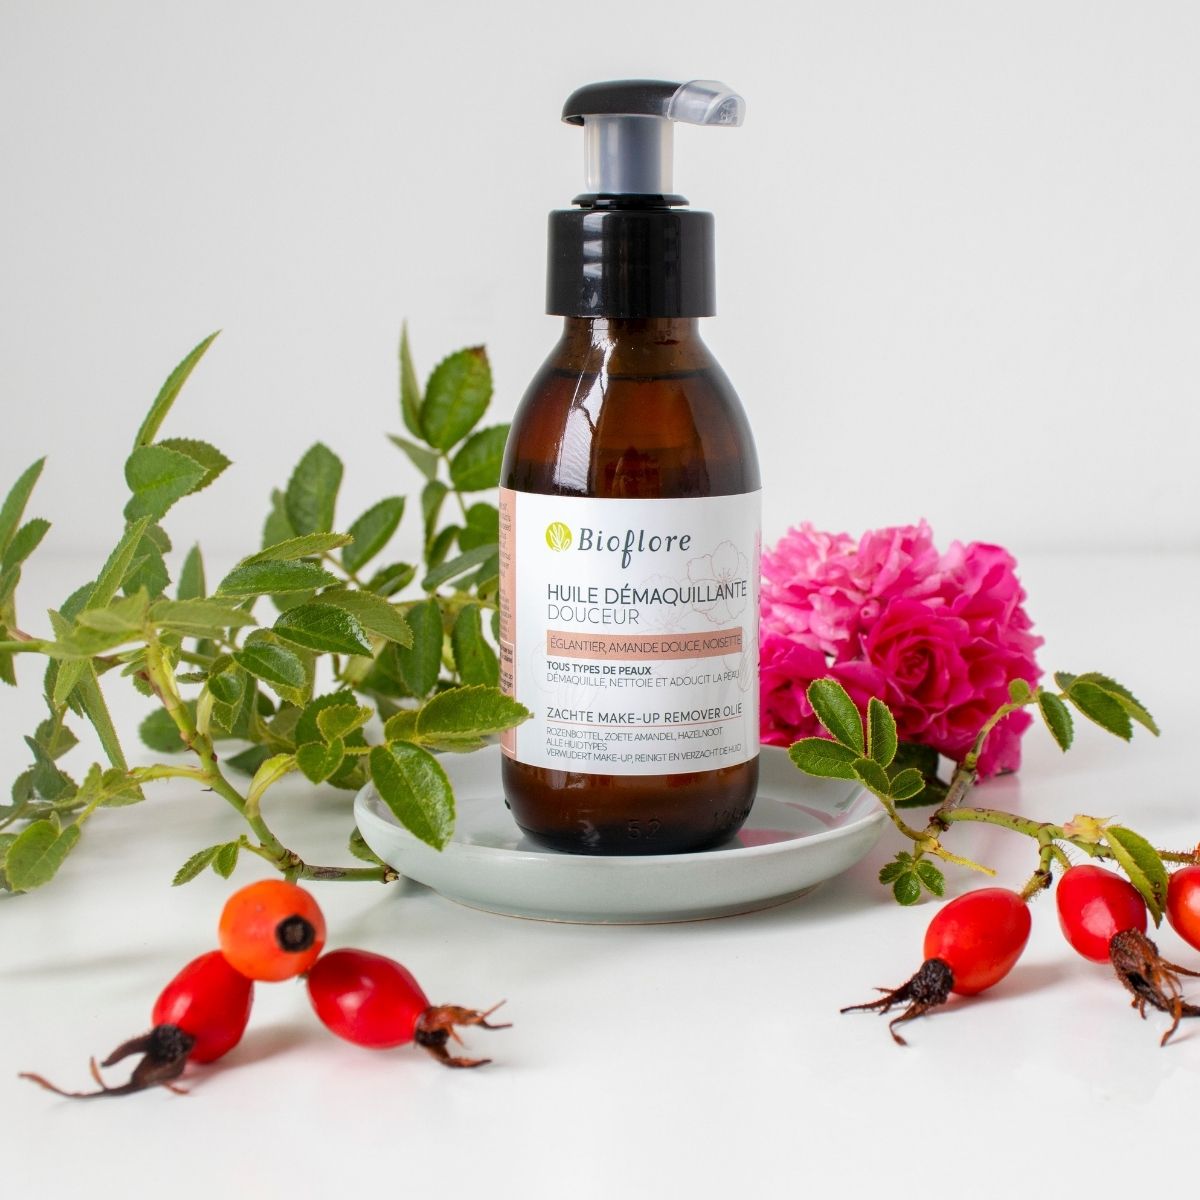
    The first step in a skincare routine is removing makeup and cleansing. The Gentle cleansing oil cleanses and removes makeup at the same time. It is applied to dry or slightly damp skin to effectively dissolve make-up pigments and oxidised sebum from the face.

    Its oily texture, enriched with rosehip and sweet almond plant oils, transforms on contact with water into a delicate milky emulsion. This transformation removes impurities without disrupting the skin’s hydrolipidic film.

    The skin is left clean, supple and comfortable, with no tightness. This step is suitable for all skin types, particularly dry, dehydrated and sensitive skin.

    Step 2 • How should you exfoliate your skin as part of a skincare routine at home?

    Once your make-up has been removed and your skin cleansed, it’s time to exfoliate. This step helps to remove dead skin cells, which are responsible for a dull, greyish complexion and the first visible blockages in the pores.

    For a versatile skincare routine – particularly in autumn and winter, when the skin needs extra gentleness – white clay is an ideal base.

    Why clay?

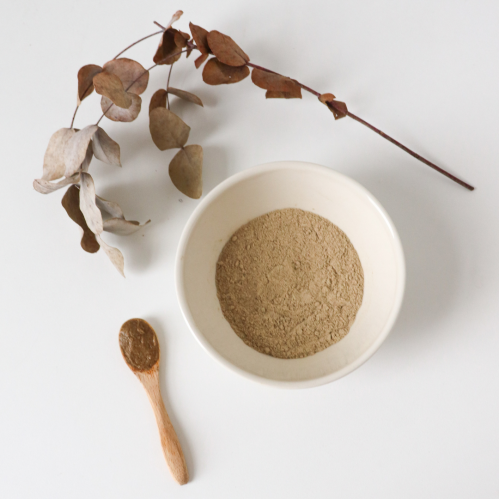
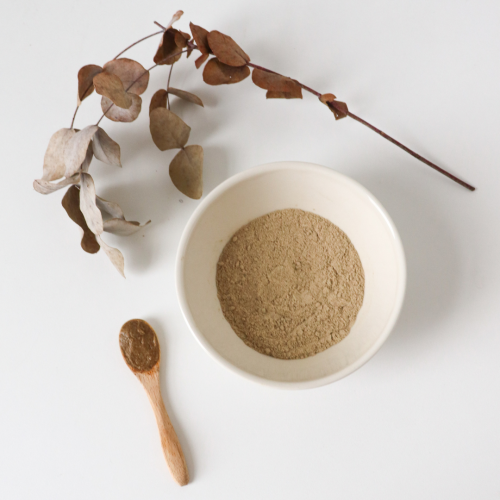
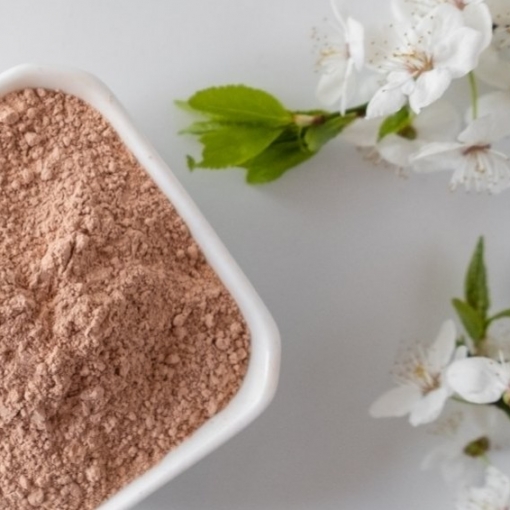
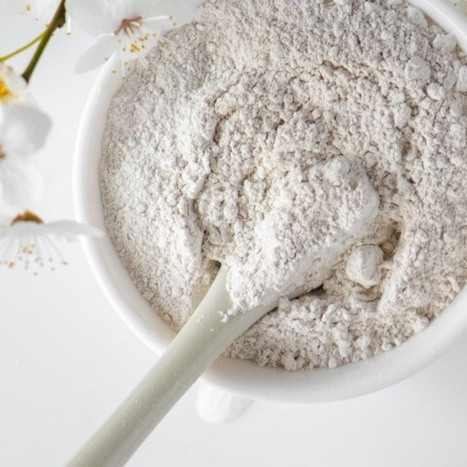
    White clay is a natural substance that has been dried and then reduced to a powder. When combined with a gentle massage using the hands, it helps to remove surface dead skin cells. This stimulates skin renewal, refines the skin’s texture and helps the skincare products applied afterwards to penetrate more effectively. The skin appears smoother and more radiant.

    How to make the cleansing paste?

    1. Place a level tablespoon of white clay in a bowl.
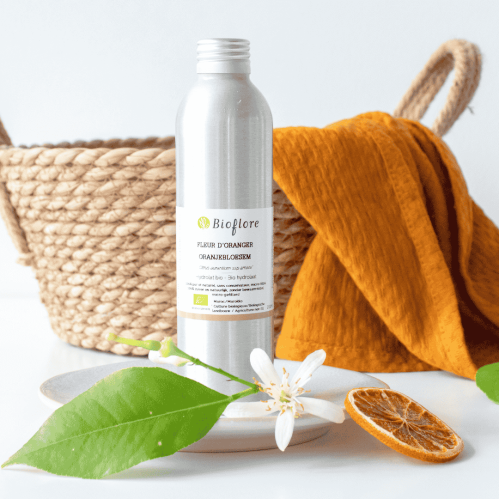
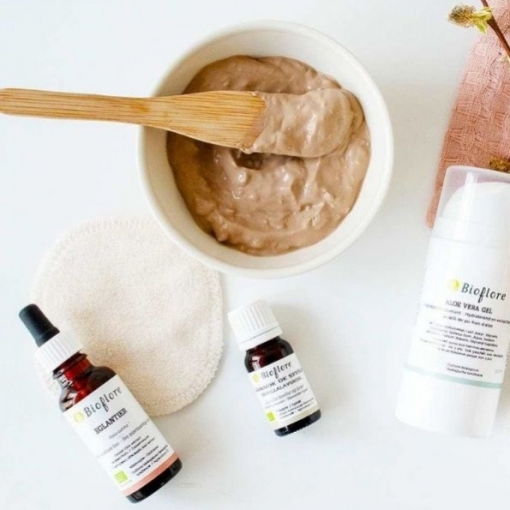
    2. Gradually add a small amount of your chosen hydrosol, a little at a time, until you achieve a thick texture, similar to yoghurt or cream cheese.

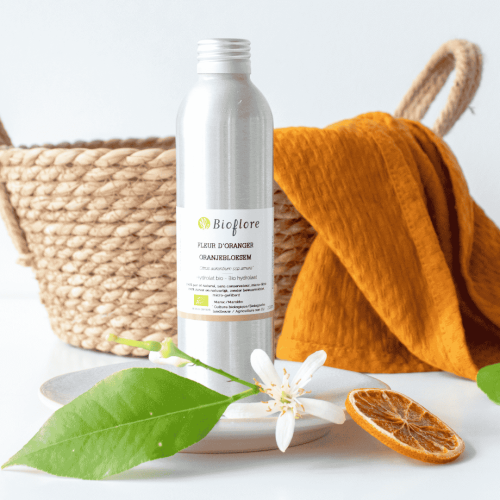
    Recommended hydrosols:

    The hydrosol should be added sparingly to prevent the mixture from becoming too liquid.

    How do you use clay paste as a face mask?

    Apply to slightly damp skin. Massage all over the face as you would a scrub for 1 to 3 minutes for a real ‘just-back-from-the-beauty-salon’ effect. Focus more on the T-zone, which is more prone to impurities, and use a lighter touch on the cheeks. Avoid any areas that are inflamed or have lesions.

    For a deeper effect, you can add the equivalent of half a teaspoon of rosemary powder, but only if your skin has no inflammatory acne or marked sensitivity. This grainy scrub will then be more abrasive. If you have reactive skin or active blemishes, opt for the grain-free version.

    Step 3 • Gentle self-massage of the face: to naturally boost elasticity and firmness

    After exfoliation, the skin is ready to receive targeted nourishing care. A facial self-massage is an essential step: it boosts elasticity, promotes skin firmness and optimises the absorption of plant-based oils.

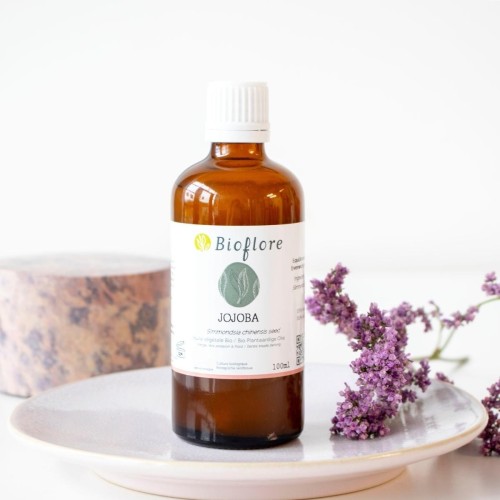
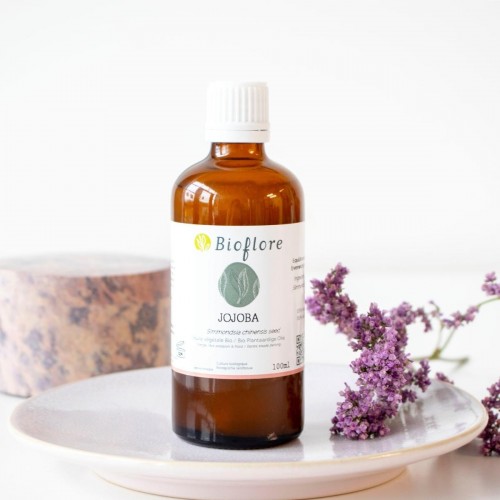
    Jojoba oil is ideal for all-round skincare. Its composition, which is similar to human sebum, means it is exceptionally well-suited to the skin. It helps regulate sebum production whilst nourishing the skin, making it suitable for dry, combination and oily skin types alike.

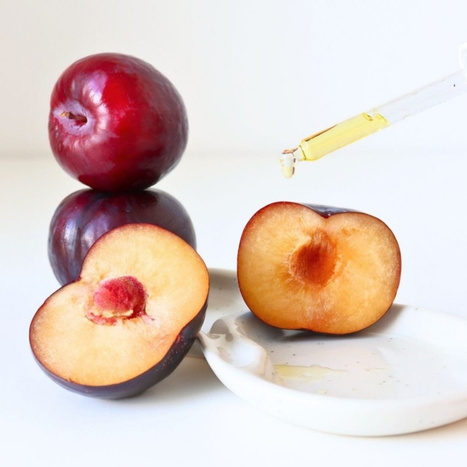
    To enhance the massage, you can add 1 to 2 drops of plum oil macerate, which is naturally rich in vitamin E (tocopherol), an antioxidant known to help the skin combat the signs of ageing. Its delicate almond scent adds an enveloping sensory dimension. It is particularly beneficial for dry, mature, dull or tired skin.

    How to practice effective self-massage?

    Ideal duration: 15 to 20 minutes if possible, or at least the length of a song (3 to 4 minutes) to see a visible effect.

    Place a few drops of plant oil in your hands, warm it between your palms and apply it to your face and neck.

    1️. Open up the drainage zones

    • Start with the neck.
    • Using flat fingers, make slow, downward strokes along the sternocleidomastoid muscle (from below the ear towards the collarbone). Repeat 5 to 6 times on each side.
    • Then place your fingers in the hollows of your collarbones and apply a few gentle, slow presses. This step prepares the drainage pathways.

    2️. Reshape the facial contour

    • Using your knuckles or thumbs, glide from the chin towards the ears, following the jawline. Repeat 3 to 6 times.
    • Next, make small circular movements around the masseter muscles (jaw muscles) to release tension caused by involuntary clenching.

    3️. Lift the cheekbones

    • Place your fingers near the sides of your nose and glide towards your temples in a gentle lifting motion. Repeat slowly 3 to 6 times.
    • Maintain light pressure at the end of the movement to stimulate firmness.

    4️. Smooth the eye area

    • Place one hand at the temple, slightly towards the hairline, to gently support the area and avoid creasing the skin during the massage.
    • Using your ring finger, make light circular movements over the crow’s feet to smooth and soften the area.
    • As this is a self-massage to be carried out at home, the movements remain simple and safe. Rather than working too close to the eye, position your fingers on the orbital bone (the bony rim around the eye), never on the eyelid.
    • Start with small, firm taps moving from the inner corner outwards, towards the temple. This technique stimulates microcirculation, helps to reduce puffiness and supports firming of the eye contour.
    • To enhance the decongesting effect and minimise the appearance of dark circles, next tap from the outside inwards.
    • Finally, repeat these same movements by gently smoothing with the pads of your fingers held flat, still without applying pressure. The movements can be repeated 3 to 6 times, maintaining a slow and gentle pace.

    5. Relax and massage your forehead

    • Place your fingers in the centre of your forehead and massage outwards towards your temples.
    • Then make small circular movements in the area between your eyebrows to release tension. Repeat several times.

    The massage should be slow, gentle and comfortable. Deep breathing and a calm atmosphere (soft music, dim lighting) enhance the relaxing effect.

    When practised regularly, self-massage improves skin suppleness, maintains firmness and contributes to a more radiant and rested complexion.

    Step 4 • Which face mask to choose for your skincare routine?

    After the massage, the skin is receptive. The mask either purifies and soothes the skin or provides intense comfort, depending on the skin’s condition.

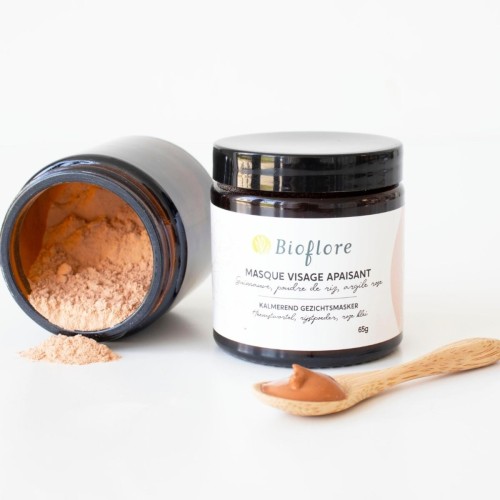
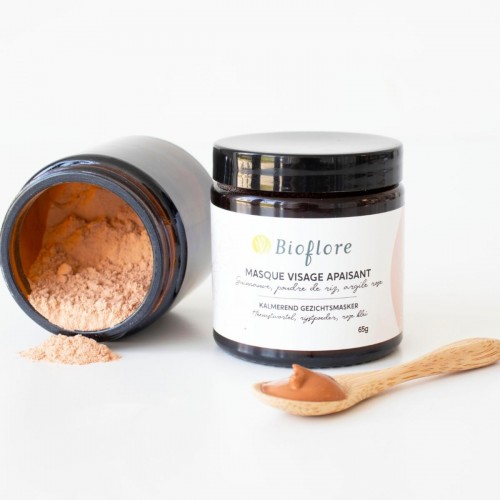
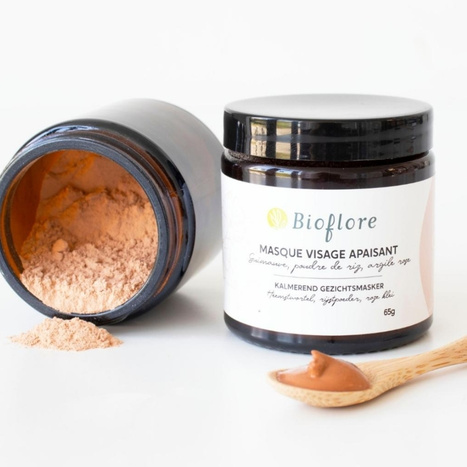
    1️. Soothing Soothing face mask with rose clay

    This ready-to-use mask combines a blend of active ingredients that are particularly beneficial for the skin:

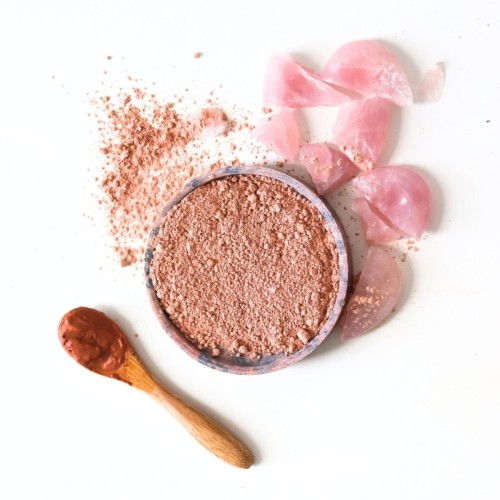
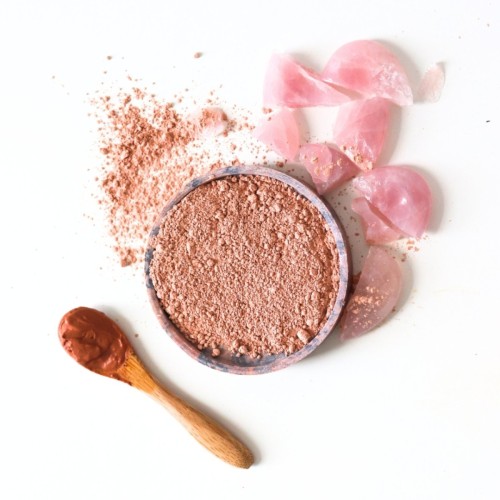
    • Rose clay: a gentle purifier, it refines the skin’s texture and enhances its radiance.
    • Marshmallow root powder, naturally rich in mucilage: on contact with water, it forms a soothing plant-based gel that tempers the clay’s absorbent effect and makes the treatment more soothing.
    • Micronised rice powder: it leaves the skin feeling silky and velvety, with a subtle matt finish.

    This mask is suitable for all skin types and is particularly popular with those with sensitive skin as it strikes a balance between deep cleansing and gentleness.

    How to make it

    In a bowl:

    • 2 tablespoons of the mixture
    • 2 tablespoons of your choice of hydrosol (rose, orange blossom, lavender, chamomile, etc.)

    Stir until you have a smooth paste.

    Application

    Apply an even layer to the face only (avoid the neck and décolleté).

    Leave on for 5 minutes. Never allow the clay to dry out.

    If your skin starts to feel tight, spray on some hydrosol to keep the mask moist. This step is essential to maintain skin comfort.

    2️. Instant hydrating and plumping mask: intense comfort

    For very dry, dehydrated or uncomfortable skin that does not require cleansing but needs immediate nourishment, an ‘instant emulsion’ mask can be made.

    Ingredients (for one application)

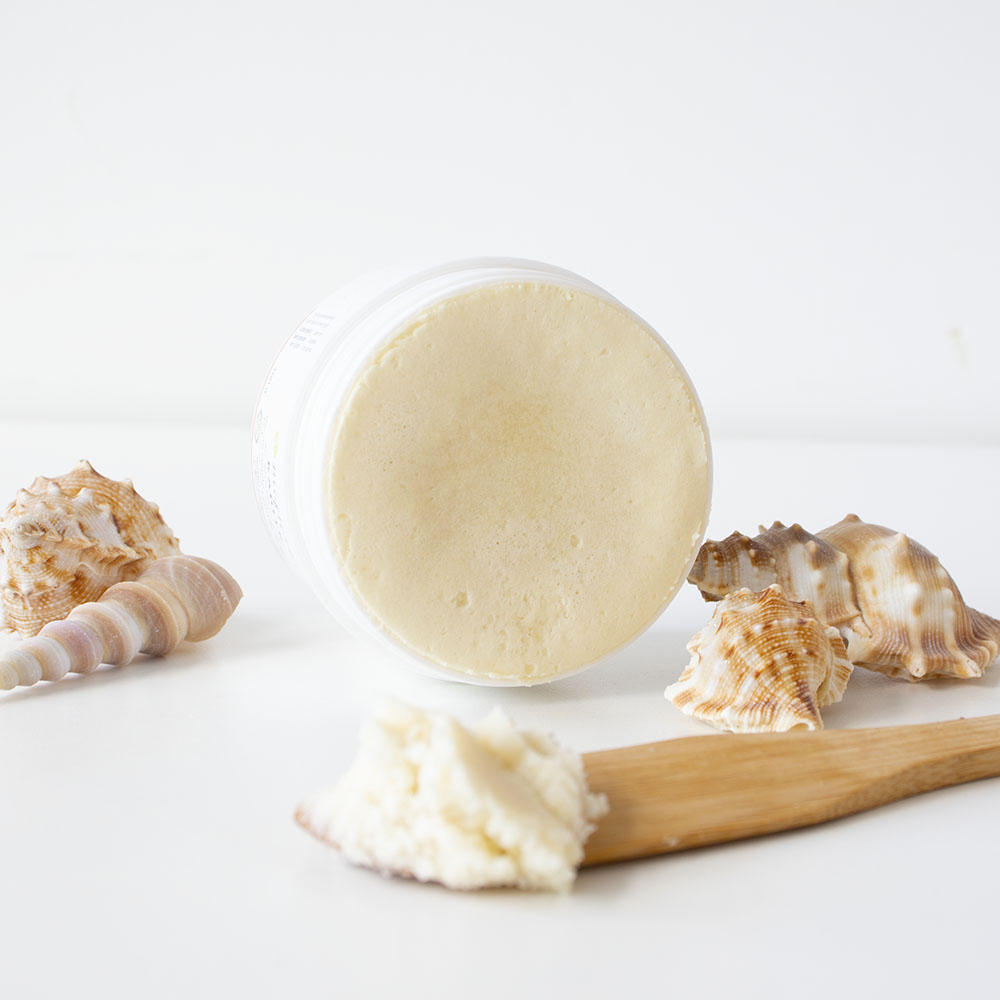
    • ½ hazelnut-sized amount of shea butter
    • ½ teaspoon of aloe vera gel
    • ½ teaspoon of plant oil (e.g. plum oil)

    Preparation

    In a bowl, mash and mix the ingredients vigorously.

    The technique is important: mash, mix, mash, mix, until you achieve a smooth, white and slightly milky texture.

    The mixture can be worked with a spatula or a cosmetic brush for ease of use. No bain-marie is required: the emulsion forms mechanically.

    Application

    Apply to the face, neck and décolleté.

    Leave on for 10 to 15 minutes.

    This mask provides suppleness, comfort and an immediate plumping effect, ideal when the skin is in need of nourishment and softness.

    How to rinse off a face mask without irritating the skin

    In both cases, the masks should be rinsed off with clean water.

    Rinse thoroughly using a washcloth to help remove all residue.

    The use of tap water, which is often hard, can slightly disrupt the skin’s balance. To restore the skin’s pH balance, remove any remaining mineral deposits and prepare the skin for the final treatment, the application of a hydrosol is essential. This step is the professional finishing touch that completes the routine.

    Spray the chosen hydrosol (rose, orange blossom, lavender, chamomile, etc.) generously onto the skin, then allow it to absorb without rinsing.

    Step 5 • Complete your skincare routine and protect your skin

    Once your skin is thoroughly cleansed and rebalanced, apply a suitable cream:

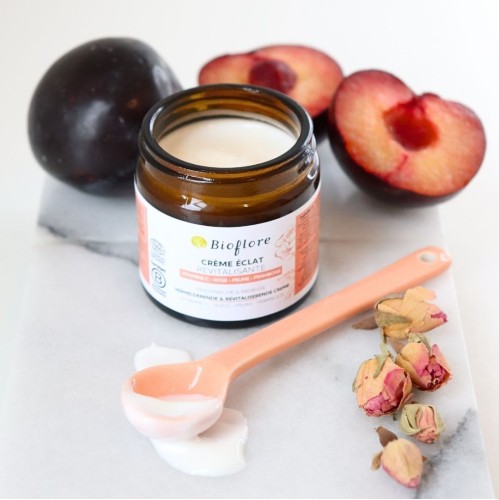
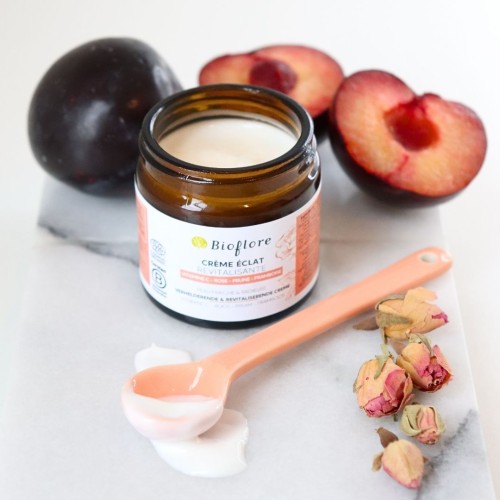
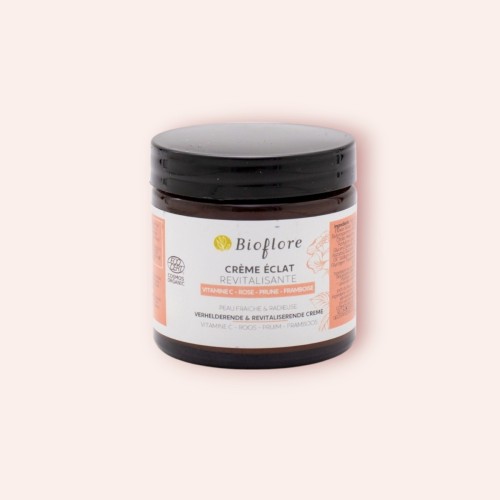
    • Radiance Revitalising Cream, to restore your complexion’s radiance.
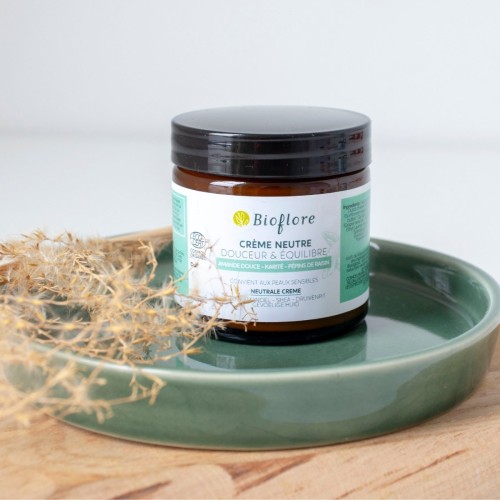
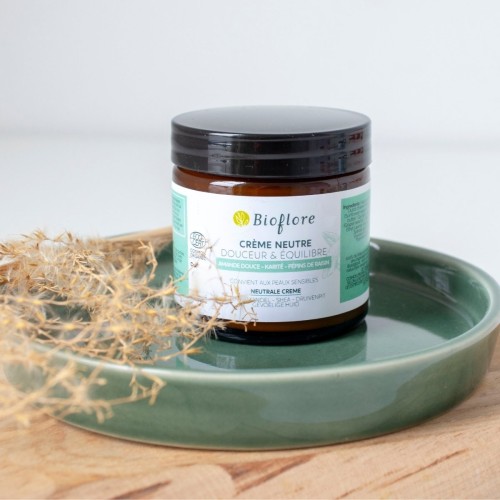
    • Gentle neutral cream, suitable for all skin types, to lock in moisture.

    This step is essential: it locks in the benefits of the treatment and protects the skin’s barrier.

    You can also finish with an eye contour treatment. This step, inspired by salon treatments, enhances the anti-fatigue effect and helps reduce puffiness and signs of tiredness. Its gel-cream texture absorbs quickly without leaving a greasy film.

    Apply gently to the orbital bone, either above or below the face cream. There’s no need to get too close to the eye: thanks to capillary action, the treatment will naturally migrate towards the area in question.

    Aromatherapy: how can you turn your homemade skincare routine into a spa ritual?

    To enhance the wellness experience, aromatherapy can be incorporated during the face mask break or at the end of the massage.

    Choose a suitable essential oil, for example:

    • Fine lavender for a soothing spa-like effect.
    • Ravintsara for a sense of clarity and freshness.

    Simply open the bottle and take a deep breath to inhale the aromatic molecules. Two options:

    • Breathe in through the nose and out through the mouth to promote relaxation.
    • Breathe in and out through the nose to energise and refocus.

    The essential oil can also be applied to a handkerchief for dry inhalation. Even without direct contact with the skin, the aromatic compounds diffuse naturally into the air as soon as the bottle is opened.

    Last word

    This complete ritual respects the skin’s natural rhythm: cleansing, exfoliating, massaging, applying a suitable mask, rebalancing and protecting.

    By combining precise techniques, carefully selected natural ingredients and a sensory experience, a facial treatment at home becomes a truly inspiring experience, modelled on professional treatments. The skin regains comfort, radiance and suppleness, achieving a lasting balance.

    Our selection

    On the same topic

    See all

    See all